HMAS Ballarat (I)
HMAS
Ballarat
(I)
 |
| Class |
Bathurst Class |
|---|---|
| Type |
Australian Minesweeper |
| Pennant |
J184 and B236 |
| Motto |
Defend the Flag |
| Builder |
Melbourne Harbour Trust, Williamstown |
| Laid Down |
19 April 1940 |
| Launched |
10 December 1940 |
| Launched by |
Mrs Dunstan, wife of the Premier of Victoria |
| Commissioned |
30 August 1941 |
| Decommissioned |
27 September 1946 |
| Fate |
Initially sold on 10 July 1947 and broken up in 1953 |
| Dimensions & Displacement | |
| Displacement | 590 tonnes (standard) |
| Length | 56.69 metres |
| Beam | 9.45 metres |
| Draught | 2.59 metres |
| Performance | |
| Speed | 15 knots |
| Complement | |
| Crew | 85 |
| Propulsion | |
| Machinery | Triple expansion engine, 2 shafts, 1750 hp |
| Horsepower | 1750 |
| Armament | |
| Guns |
|
| Other Armament | Depth charge chutes and throwers |
| Radars | Types 271 & 291 radar |
| Awards | |
| Battle Honours | |
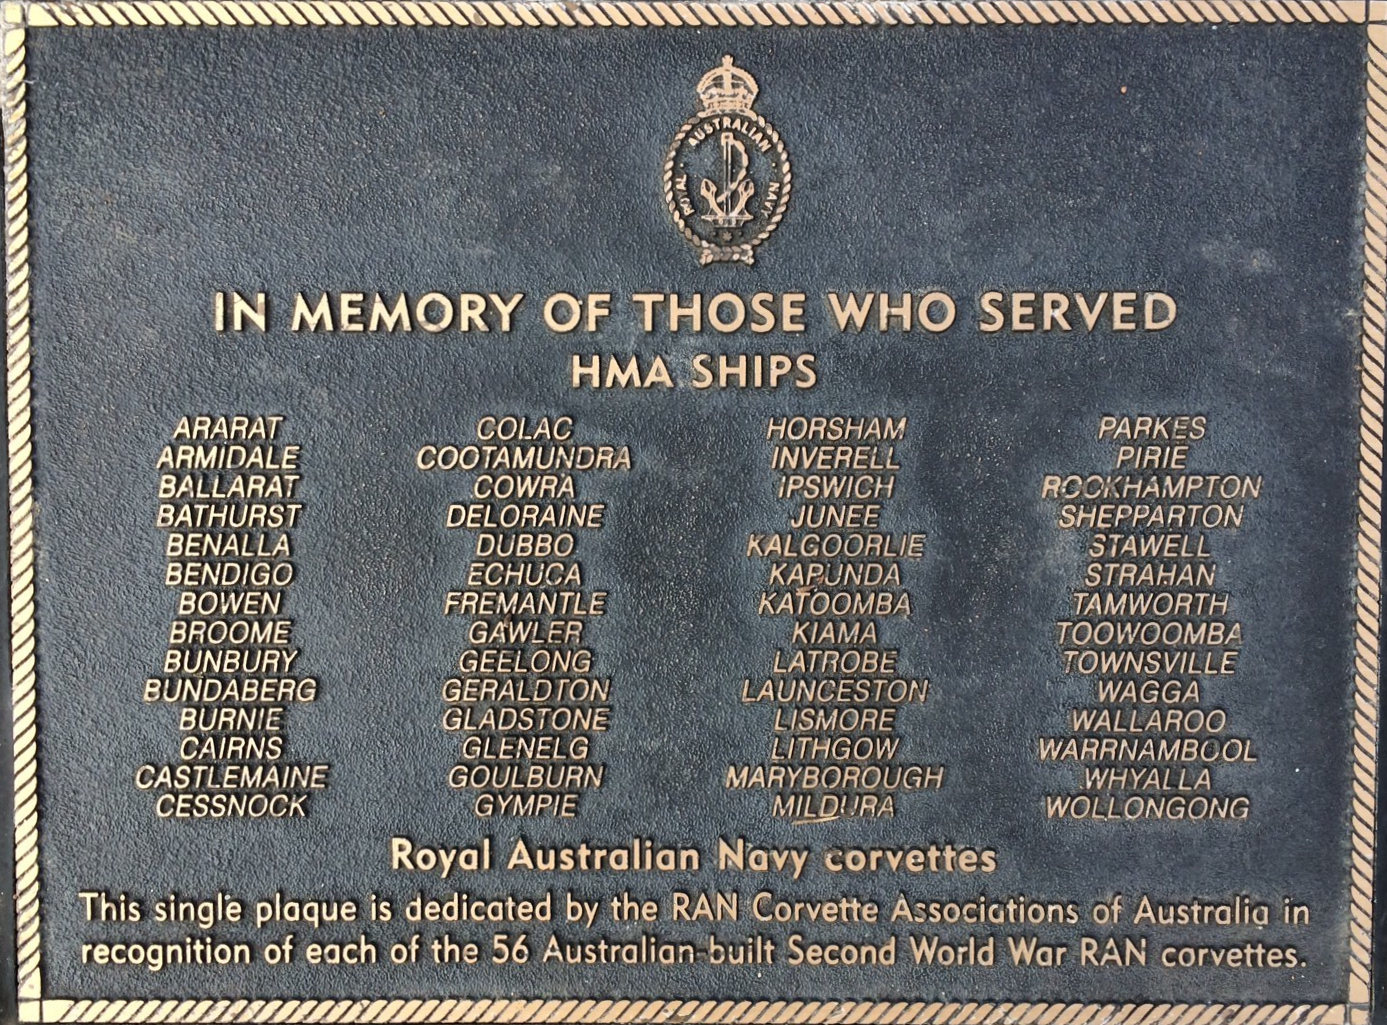
HMAS Ballarat (I) was one of sixty Australian Minesweepers (commonly known as corvettes) built during World War II in Australian shipyards as part of the Commonwealth Government’s wartime shipbuilding programme. Twenty (including Ballarat (I)) were built on Admiralty order but manned and commissioned by the Royal Australian Navy. Thirty six were built for the Royal Australian Navy and four for the Royal Indian Navy.
Ballarat (I) commissioned at Melbourne on 30 August 1941 under the command of Lieutenant Commander Alfred D Barling RANR(S).
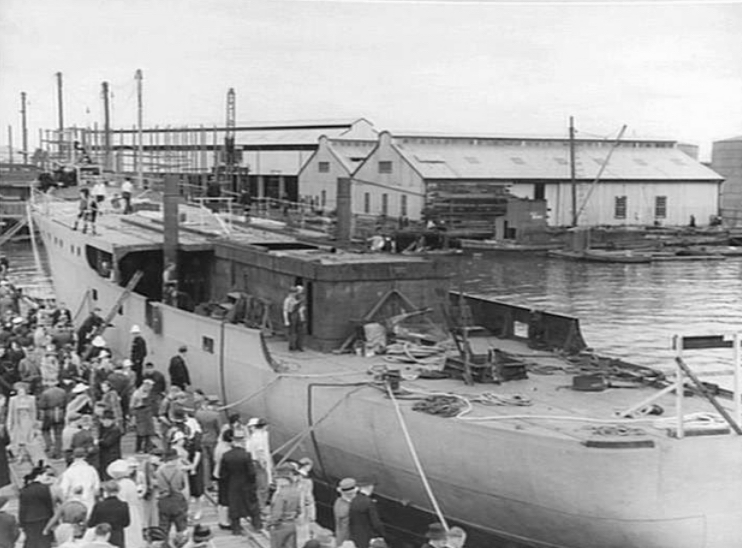
The launching of HMAS Ballarat (I), 10 December 1940.
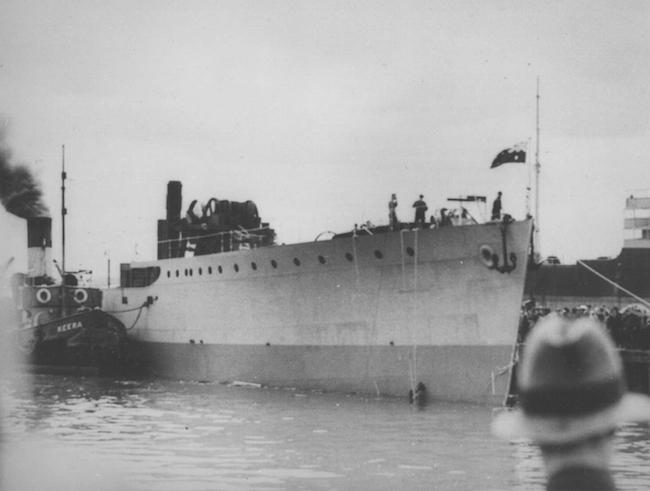
HMAS Ballarat (I) following her launching.

HMAS Ballarat (I) was one of sixty Australian Minesweepers (known as corvettes) built during World War II.
After trials in the Melbourne area Ballarat (I) sailed for Sydney on 20 September 1941. After arrival three days later the ship joined the 20th Minesweeping Flotilla, based in Sydney. On 1 November 1941 Ballarat (I) sailed for Jervis Bay to give anti-submarine protection to the transport Queen Mary. That ship and another giant liner of the Cunard Line, Queen Elizabeth, were to comprise Convoy US13 to the Middle East, the troops embarked being mainly from the 6th, 7th and 9th Australian Divisions. After embarkation of troops at Sydney the transports proceeded to Jervis Bay, whence they sailed for the Middle East on 3 November. Ballarat (I) returned to Sydney the same day.
On 14 November 1941, Ballarat (I) departed Sydney towing Oil Lighter No 1. The vessels proceeded via Brisbane, Townsville and Thursday Island to Darwin, where they arrived on 8 December. Two days later Ballarat (I) commenced escort duty between Darwin, Timor and Ambon. She saw action early in her career, arriving at Batavia early in January 1942. She then proceeded to Singapore. After leaving Singapore on 3 February 1942 she carried out patrols in Banka Strait (‘Bomb Alley’), and was employed also in rescuing shipwrecked crews and carrying out demolition work.
Ballarat (I) carried out one of the largest rescue operations, picking up 215 survivors from the SS Derrymore, sixty miles north-west of Batavia on 14 February 1942. The Derrymore had been sunk by Japanese submarine in position 5°18´S, 106°20´E. Amongst those rescued by Ballarat (I) was Flying Officer JG Gorton RAAF, who was later to become Prime Minister of Australia. Amongst other ministerial posts held by Mr Gorton before he became Prime Minister was that of Minister for the Navy.
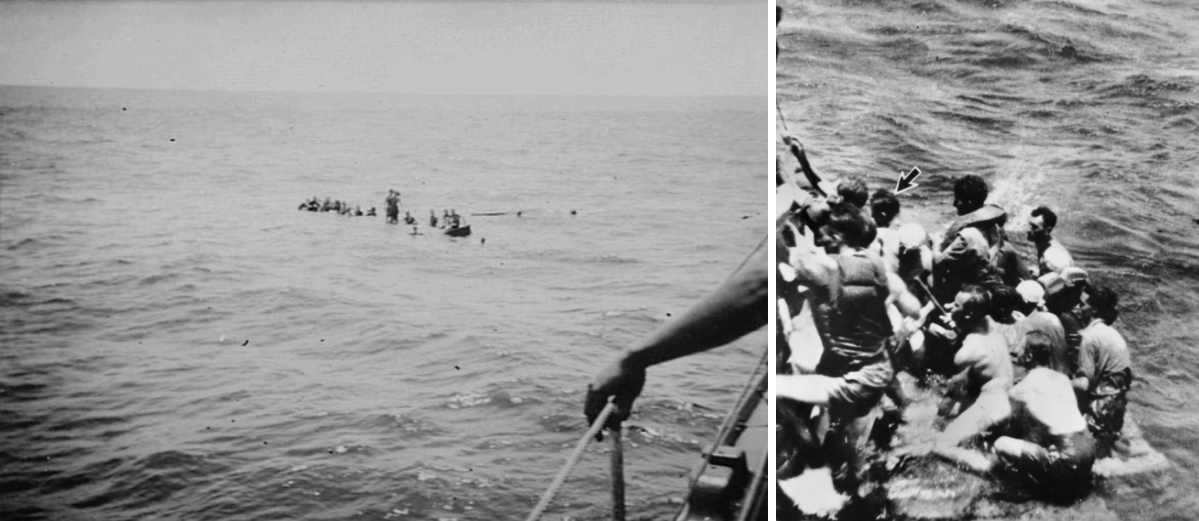
Left: Survivors from Merchant Ship SS Derrymore. Right: Flying Officer John G Gorton (indicated by the arrow), later Prime Minister of Australia, among survivors from the torpedoed SS Derrymore (4799 tons) who are being taken aboard Ballarat. The survivors, numbering 215, included 189 British Airmen.
She landed parties at Oosthaven for demolition, which was successfully carried out without loss. With sister ships, Ballarat (I) took a prominent part in the evacuation of Sumatra, operating from Palembang. She was the last RAN ship to leave, staying behind to sink a small unseaworthy minesweeper.
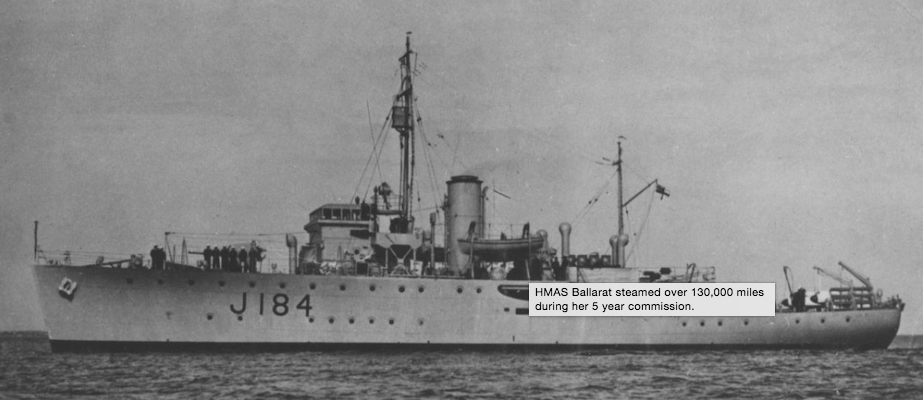
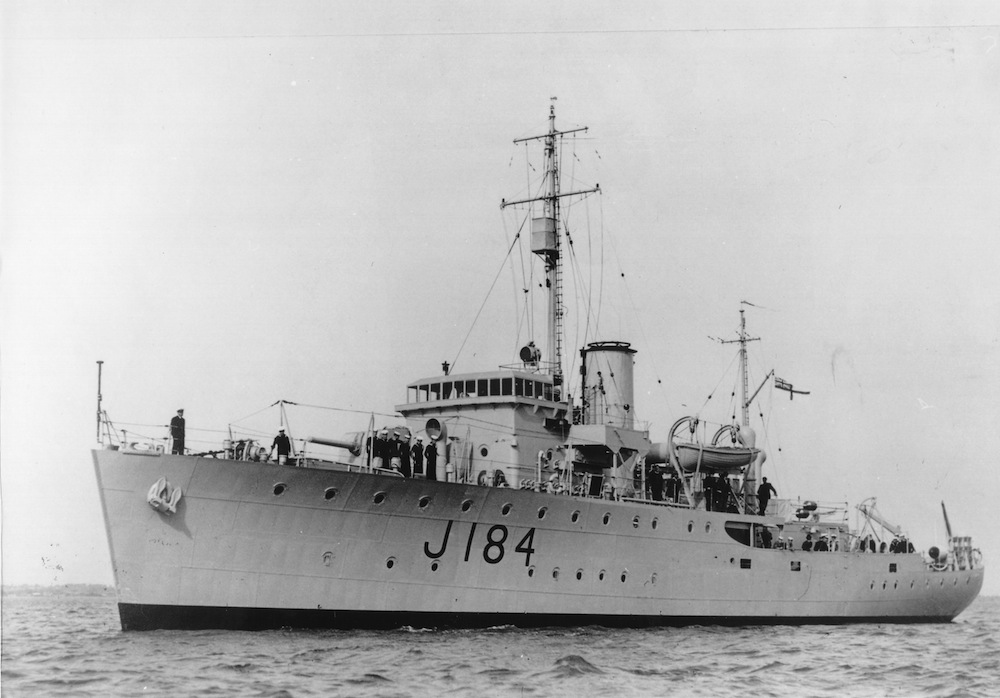
Ballarat wearing her standard Admiralty Pattern 507C paint scheme and early pennant number - J184.
The ship then returned to Australia and was employed on convoy escort work, mainly to New Guinea. In November she and her sister ship HMAS Katoomba (I) were heavily attacked by Japanese dive bombers.
In December 1942 Ballarat (I) and her sister ships Broome (I) and Colac were detailed to transport Australian troops and land them as far forward as possible in the Buna area. The three vessels reached the landing point at Cape Sudest near Oro Bay without incident, but a few minutes later unidentified aircraft began dropping flares. Because of the threat of attack from enemy aircraft and from enemy warships believed to be in the area it was decided to retire temporarily after only 46 men had disembarked out of a total of 762. Later the same day (14 December) the operation was successfully completed using a new landing position and under cover of darkness all troops were put safely ashore. During the remainder of the month Ballarat (I) was involved in troop carrying on three further occasions.

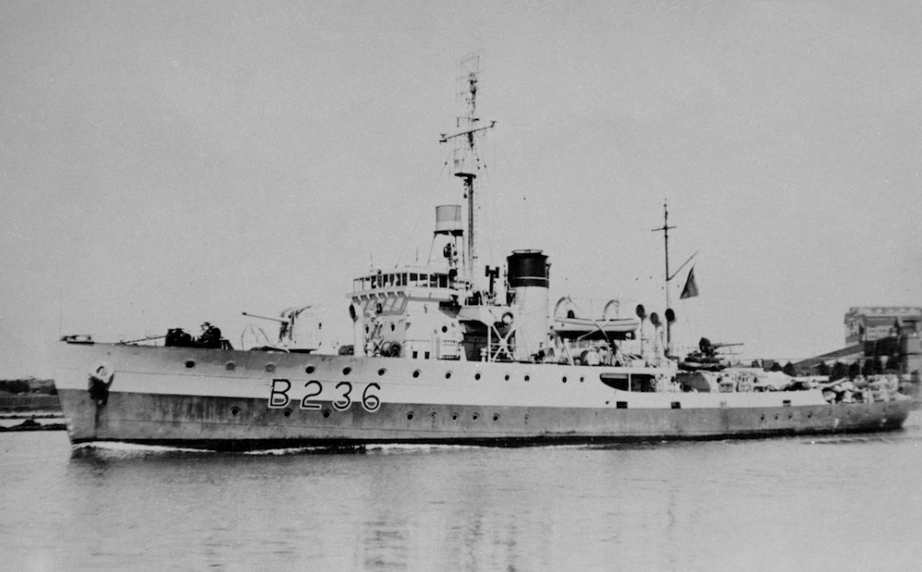
Ballarat wearing her disruptive pattern wartime camouflage paint scheme.
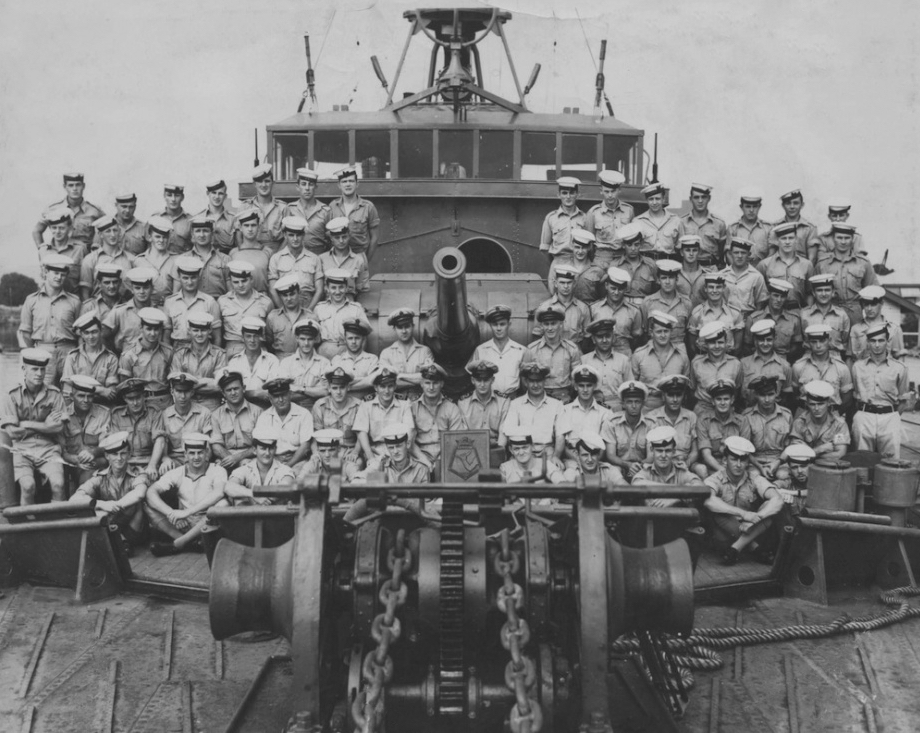
HMAS Ballarat's ship’s company, May 1944.
In April 1943 Ballarat (I) was ordered to operate off the Australian east coast to counter the Japanese submarine menace.
Returning north for escort duty to New Guinea in January 1944 Ballarat (I) was later employed between Thursday Island and Darwin. In August 1944 she ferried troops from Eilanden River (southern Dutch New Guinea) bringing them without loss to Merauke. In 1945 she was minesweeping off Sydney prior to the arrival of the British Pacific Fleet, departing for Manus on 25 February and arriving at Leyte Gulf on 26 March. Ballarat (I) then participated in the operation for the capture of Okinawa (March-May 1945).

Admiral Sir Bruce Fraser, GCB, KBE, RN inspects men of the 2nd Minesweeping Flotilla in Watsons Bay, Sydney, November 1944.
Ballarat (I) took part in the surrender ceremony at Tokyo, after which she was engaged in minesweeping in the Hong Kong area with the 20th and 21st Minesweeping Flotillas. She was damaged by a mine at Amoy on 6 November, and returned to Melbourne on 13 December where the ship’s company went on long leave. At the conclusion of hostilities Ballarat (I) had steamed 130,000 miles.

Crew members of Ballarat have something to cheer about as their ship secures for the first time to the Japanese homeland territory of Yokosuka Naval Base exactly six years after war was declared.
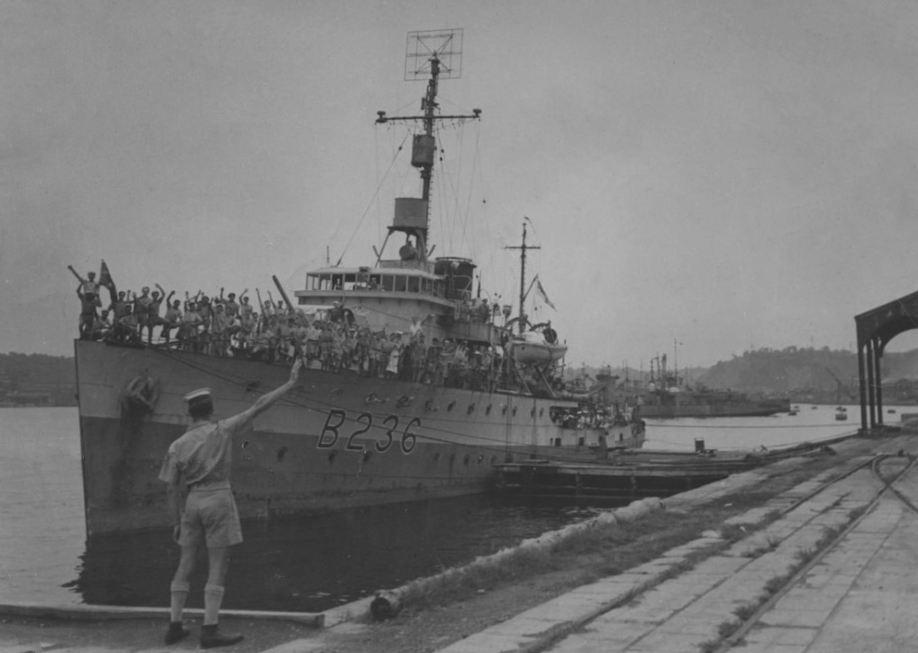
HMAS Ballarat wearing her British Pacific Fleet pennant number, Yokosuka Naval Base, circa 1945. Note also the type 271 radar at the foot of the foremast and the type 291 radar aerial mounted at the masthead.
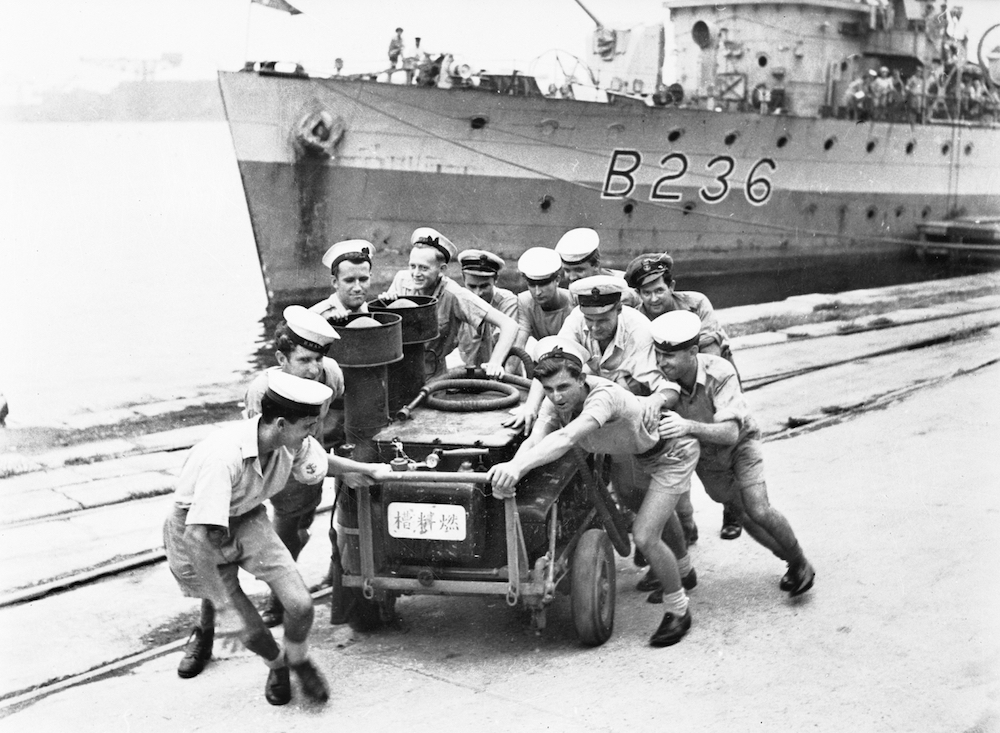
Sailors from Ballarat clear the wharf on the ship’s arrival at Yokosuka Naval Base, Japan, September 1945.
The ship paid off into Reserve at Sydney on 27 September 1946 and was sold to a Hong Kong shipping company, China Traders Ltd, on 10 July 1947.
HMAS Ballarat (I) steamed over 130,000 miles during her five-year commission.
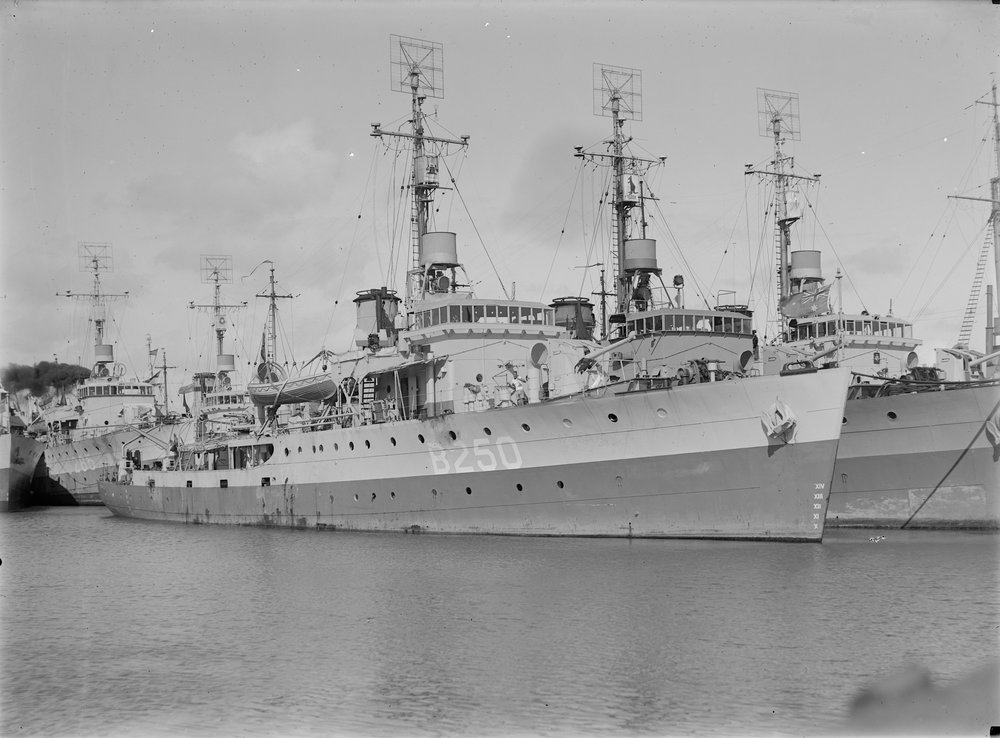
Ballarat berths inboard of her sister ships Bendigo and Tamworth (B250) at Williamstown, January 1946.
Ballarat (I) did not leave Australian waters and in December 1950 she was resold to the Ta Hing Company (Hong Kong) Ltd. She was subsequently refitted for the Chinese coastal trade and renamed Carmencita. In January 1951, however, the Commonwealth Government issued a Statutory Order banning her from proceeding to Chinese waters. In 1953 she was again sold, on this occasion to John Manners and Co (Aust) Pty Ltd, Sydney. It has been reported that the ship was broken up in 1953.
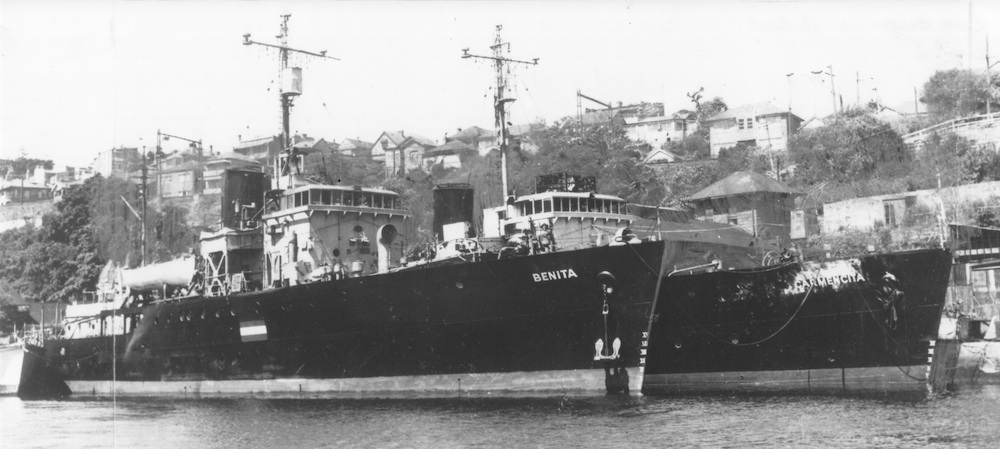
Many of the Bathurst Class corvettes were sold for commercial use after the war. Here the former HMAS Goulburn (Benita) can be seen outboard of Ballarat, which was renamed Carmencita.
Note: This video is hosted on YouTube. Department of Defence users will not be able to view this video on the Defence Protected Network.
This cine film has been placed online as part of the Sea Power Centre - Australia’s ongoing archival digitisation program.
Further reading
- Notable Service to the Empire: Australian Corvettes and the British Pacific Fleet 1944-45, by Hugh Campbell. Published by Naval Historical Society of Australia Inc, Garden Island, 1995.
- The Corvettes: Forgotten Ships of the Royal Australian Navy, by Iris Nesdale. Published by the author, October, 1982.
- Corvettes - Little Ships for Big Men, by Frank B Walker. Published by Kingfisher Press, NSW, 1996.
- The Australian Centenary History of Defence Volume III, The Royal Australian Navy, edited by David Stevens, Oxford University Press, South Melbourne, Victoria, Australia, 2001.