HMAS Bundaberg (I)
HMAS
Bundaberg
(I)
 |
| Class |
Bathurst Class |
|---|---|
| Type |
Australian Minesweeper |
| Pennant |
J231 |
| Builder |
Evans Deakin Ltd, Brisbane |
| Laid Down |
7 June 1941 |
| Launched |
1 December 1941 |
| Launched by |
Mrs Hurwood, wife of a Director of Evans Deakin Ltd |
| Commissioned |
12 September 1942 |
| Decommissioned |
26 March 1946 |
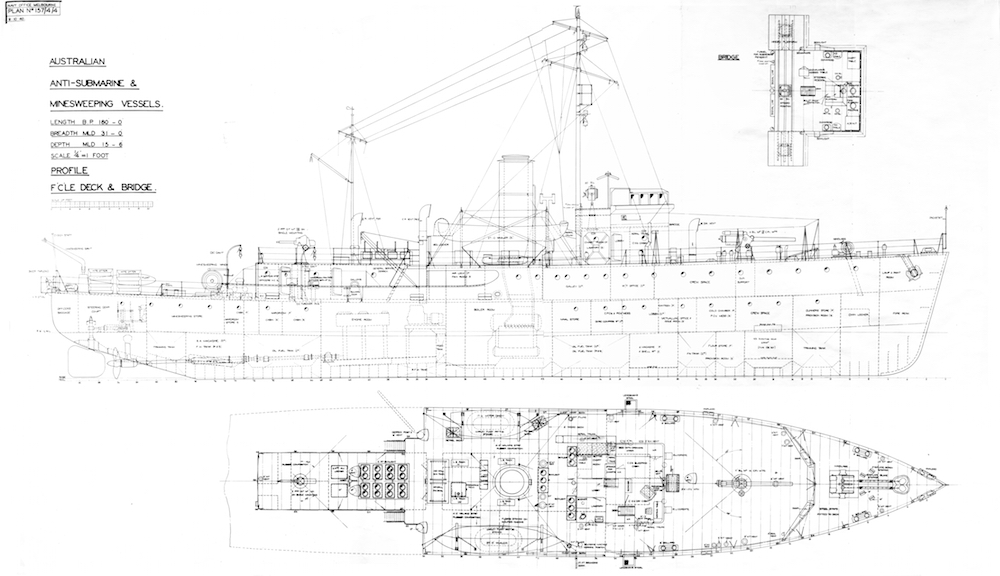
| Dimensions & Displacement | |
| Displacement | 650 tons |
| Length | 186 feet |
| Beam | 31 feet |
| Draught | 8 feet 6 inches |
| Performance | |
| Speed | 15 knots |
| Complement | |
| Crew | 85 |
| Propulsion | |
| Machinery | Triple expansion, 2 shafts |
| Horsepower | 2000 |
| Armament | |
| Guns |
|
| Other Armament |
|
| Awards | |
| Battle Honours | |
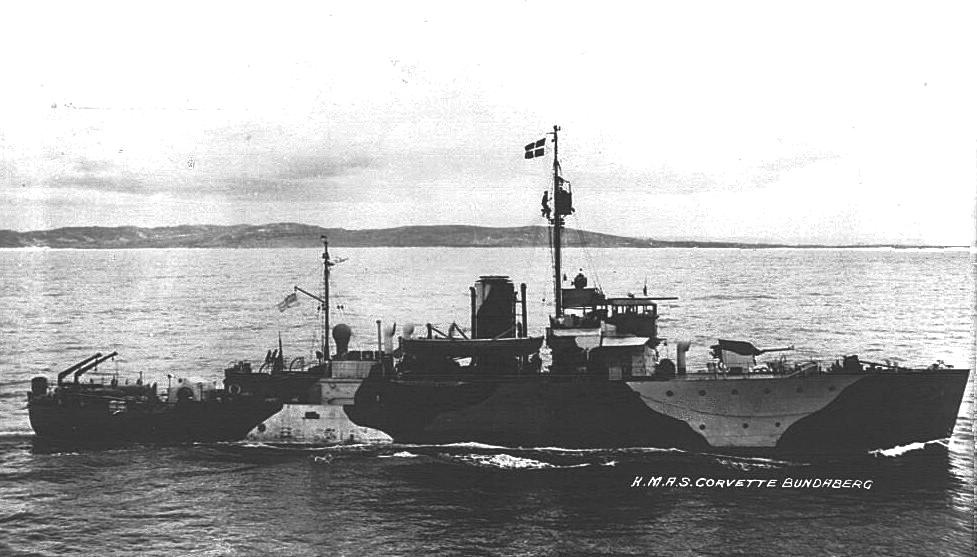
HMAS Bundaberg was one of sixty Australian Minesweepers (commonly known as corvettes) built during World War II in Australian shipyards as part of the Commonwealth Government's wartime shipbuilding programme. Twenty were built on Admiralty order but manned and commissioned by the Royal Australian Navy. Thirty six (including Bundaberg) were built for the Royal Australian Navy and four for the Royal Indian Navy.
HMAS Bundaberg was laid down at Evans Deakin & Co Ltd, Brisbane, Queensland on 7 June 1941. She was launched on 1 December 1941 by Mrs Hurwood, wife of a Director of Evans Deakin Ltd and was the first RAN warship to carry the name of the Queensland city situated on the Burnett River, 385km north of the state capital, Brisbane.
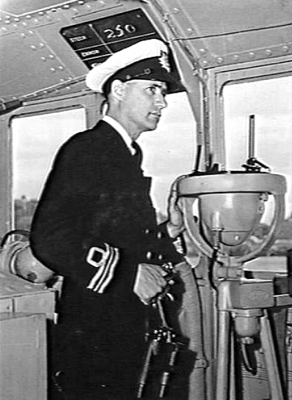
Lieutenant Commander Neville Pixley, MBE, RANR, Commanding Ofiicer of HMAS Bundaberg on the bridge of his command.
Bundaberg commissioned at Brisbane on 12 September 1942 under the command of Lieutenant Commander Neville D Pixley, RANR.
On completion of her trials in October 1942, Bundaberg was assigned to operational duty as a convoy escort vessel on the east coast of Australia between Melbourne, Sydney and Brisbane.
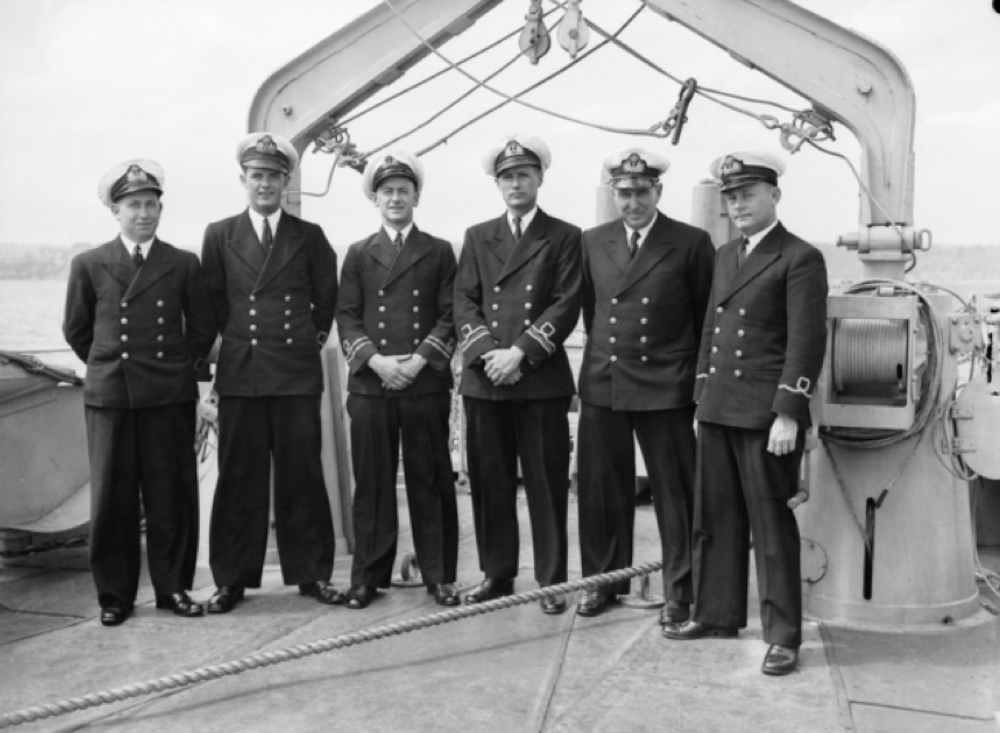
Officers of Bundaberg's wardroom pose for a formal photograph onboard.
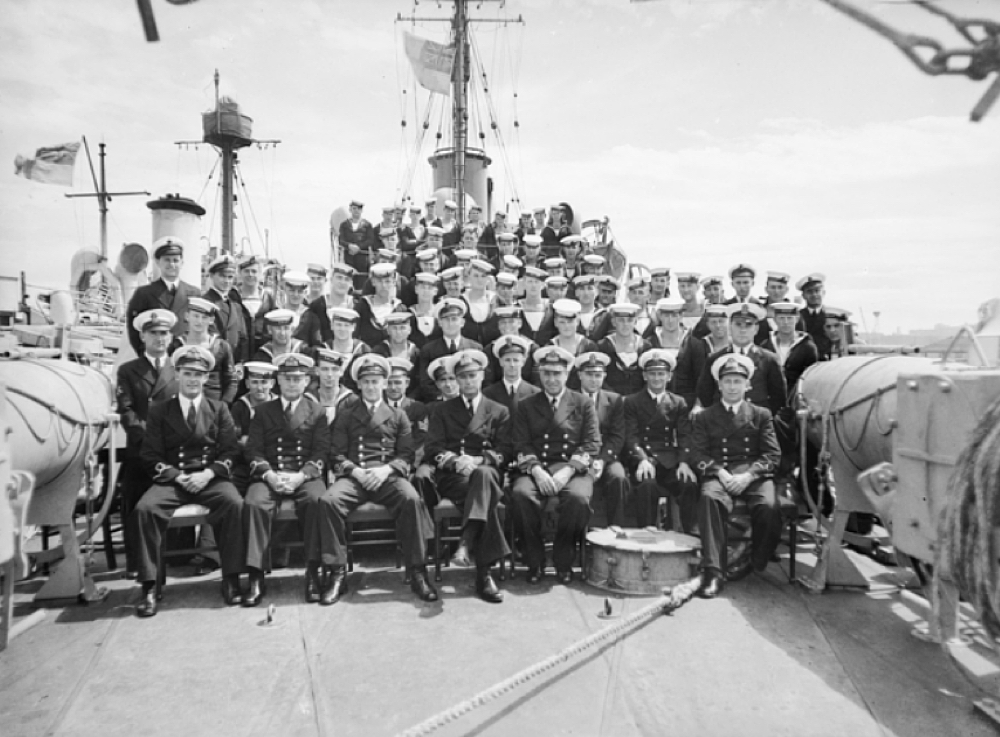
An official portrait taken of Bundaberg's ship's company early in her commission.
Until the end of 1942, the enemy were comparatively inactive in Australian waters, but in January 1943 the Japanese launched their third and final submarine campaign on coastal shipping in an attempt to disrupt the flow of war materials to the forward areas. Between January and May 1943, during which period Bundaberg was almost constantly at sea, eleven ships were lost off the coast. Only four of these, however, were in convoy at the time of attack, one of which, the United States vessel SS Portmar, was being escorted by Bundaberg.
In December 1943 Bundaberg began escorting convoys from Cairns to Port Moresby and Milne Bay. After nearly three months of this duty which were mainly uneventful, she transferred to the operational control of Commander Task Force 74 (Australian Squadron) for service in New Guinea waters. Thereafter until she returned to Australia in September 1944 for refit, she was engaged on escort, anti-submarine patrol and bombardment assignments in support of military operations ashore in the New Guinea theatre.
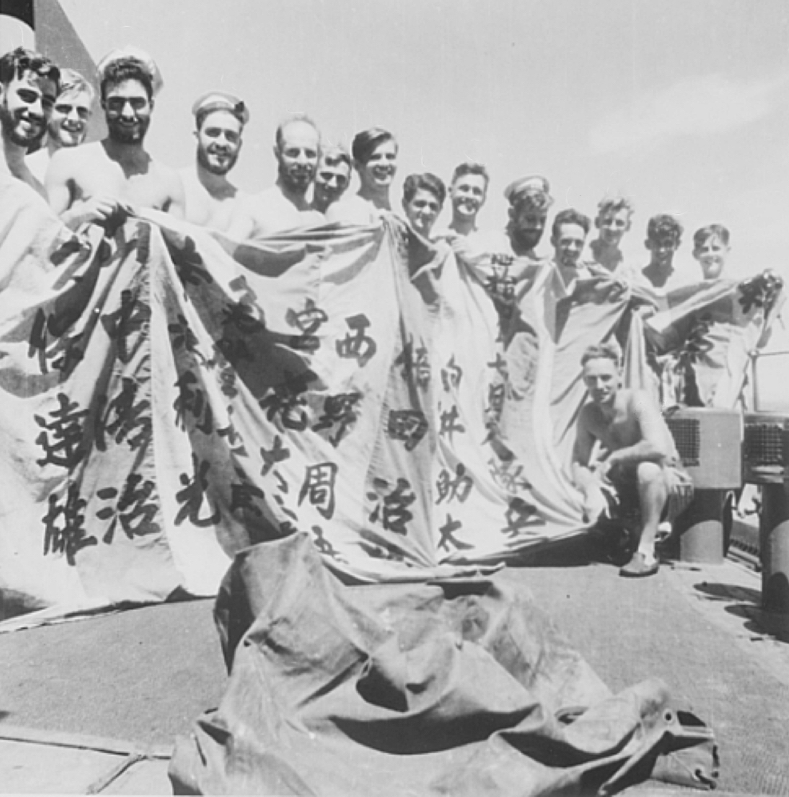
Crew members from Bundaberg holding a Japanese dropping flag which was found in the jungle near Madang, circa April 1944. The flag, covered with Japanese characters, is used to indicate the dropping site for messages and equipment provided by aircraft. L-R: Tom Twentyman, Jack Carey, Bill Sheehey, Nick Brown, Bob Gray, David McArtney, John Orme, Max Daniels, Jim Hope, Dusty Miller, Will Westbrook, Bruce Foster, Arthur Marks, Clarrie Hawken and Sid Stapleton (sqautting in front of the flag). (AWM 073021)

Left: Informal portrait of Lieutenant Commander ND Pixley, RANR (left), Commanding Officer of Bundaberg and his brother (right) Commander NS Pixley, RANR, Port Director of Langemak Area, aboard Bundaberg, circa 1944. (AWM 073024). Right: Official war correspondents on the bridge of Bundaberg bound for Alexishafen from Sek Island, circa April 1944. L-R: Mr Roy Macartney, Mr John Scarlet, Commander NS Pixley, RANR and Mr Fred Aldridge. (AWM 073023)
During this period (April to August 1944), Bundaberg bombarded Japanese positions on Alim Island (Admiralties), took part in the landings on Sek island, and gave general support to the campaign which ended with the capture of the Admiralties and the establishment of an Allied base at Manus Island. In addition she carried out anti-submarine patrols in the Solomon Sea, off Hollandia, off Alexishafen and in the Sepik River area. Escort duties were a continuing commitment during this period which included the escort of troop transports from Finschhafen to Madang.
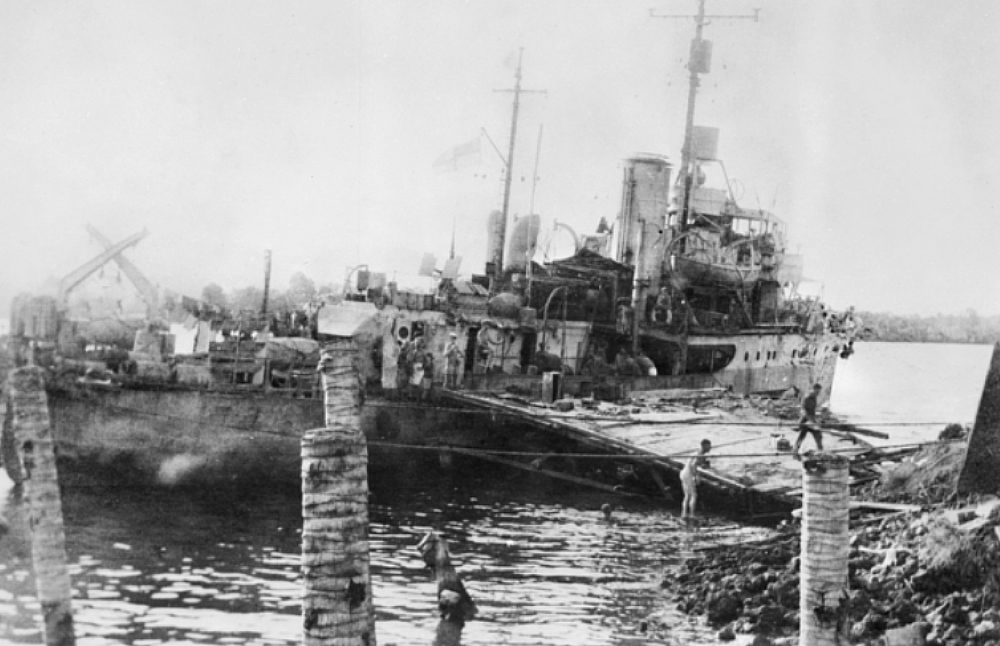
Bundaberg secured alongside remnants of Alexishafen wharf after disembarking troops and ammunition to assist in the capture of Sek island. Picture was taken in Alexishafen, New Guinea, circa April 1944.
In July 1944 Bundaberg, assisted by her sister ship HMAS Whyalla, succeeded in refloating the Australian Landing Ship Infantry HMAS Kanimbla which had gone ashore at Cape Cretin, New Guinea.
Following a refit in Adelaide during September and October 1944, Bundaberg returned to New Guinea and for the next six months was engaged on escort and anti-submarine duties between Mios Woendi, Biak and Morotai.

In September 1945, Bundaberg proceeded to Borneo where she took part in the recovery of Allied prisoners of war.
In May 1945 she returned to Australia for another refit but by mid-June was back in New Guinea waters to resume duty in the Biak and Morotai areas. There she carried out patrol and escort duties until the end of hostilities.
In September 1945 Bundaberg proceeded to Borneo where she took part in the recovery of Allied prisoners of war. She was also present at Kuching (Borneo) with her sister ship HMAS Kapunda for the official surrender ceremony of the Japanese forces in the area on 9 September.
On 28 October 1945 she arrived at her namesake town in Queensland where she was given an official reception by the citizens. Bundaberg paid off at Brisbane on 26 March 1946, having steamed 112,199 miles since commissioning.
On 4 November 1947 Bundaberg, under tow by her sister ship HMAS Katoomba, departed Brisbane for Sydney, where the vessels arrived on 7 November. Bundaberg remained in Reserve at Sydney. The ship was sold for scrap on 6 January 1961 to Kinoshita (Aust) Pty Ltd.
Note: This video is hosted on YouTube. Department of Defence users will not be able to view this video on the Defence Protected Network.
This cine film has been placed online as part of the Sea Power Centre - Australia's ongoing archival digitisation program.
Further reading
- 'HMAS Bundaberg - At War 1942-1946' by John Orme - privately published, 1999.
- 'The Corvettes: Forgotten Ships of the Royal Australian Navy' by Iris Nesdale - published by the author, October 1982.
- 'Corvettes - Little Ships for Big Men' by Frank B Walker - published by Kingfisher Press, NSW, 1996.
- 'The Australian Centenary History of Defence Volume III, The Royal Australian Navy' edited by David Stevens, Oxford University Press, South Melbourne, Victoria, Australia, 2001.


