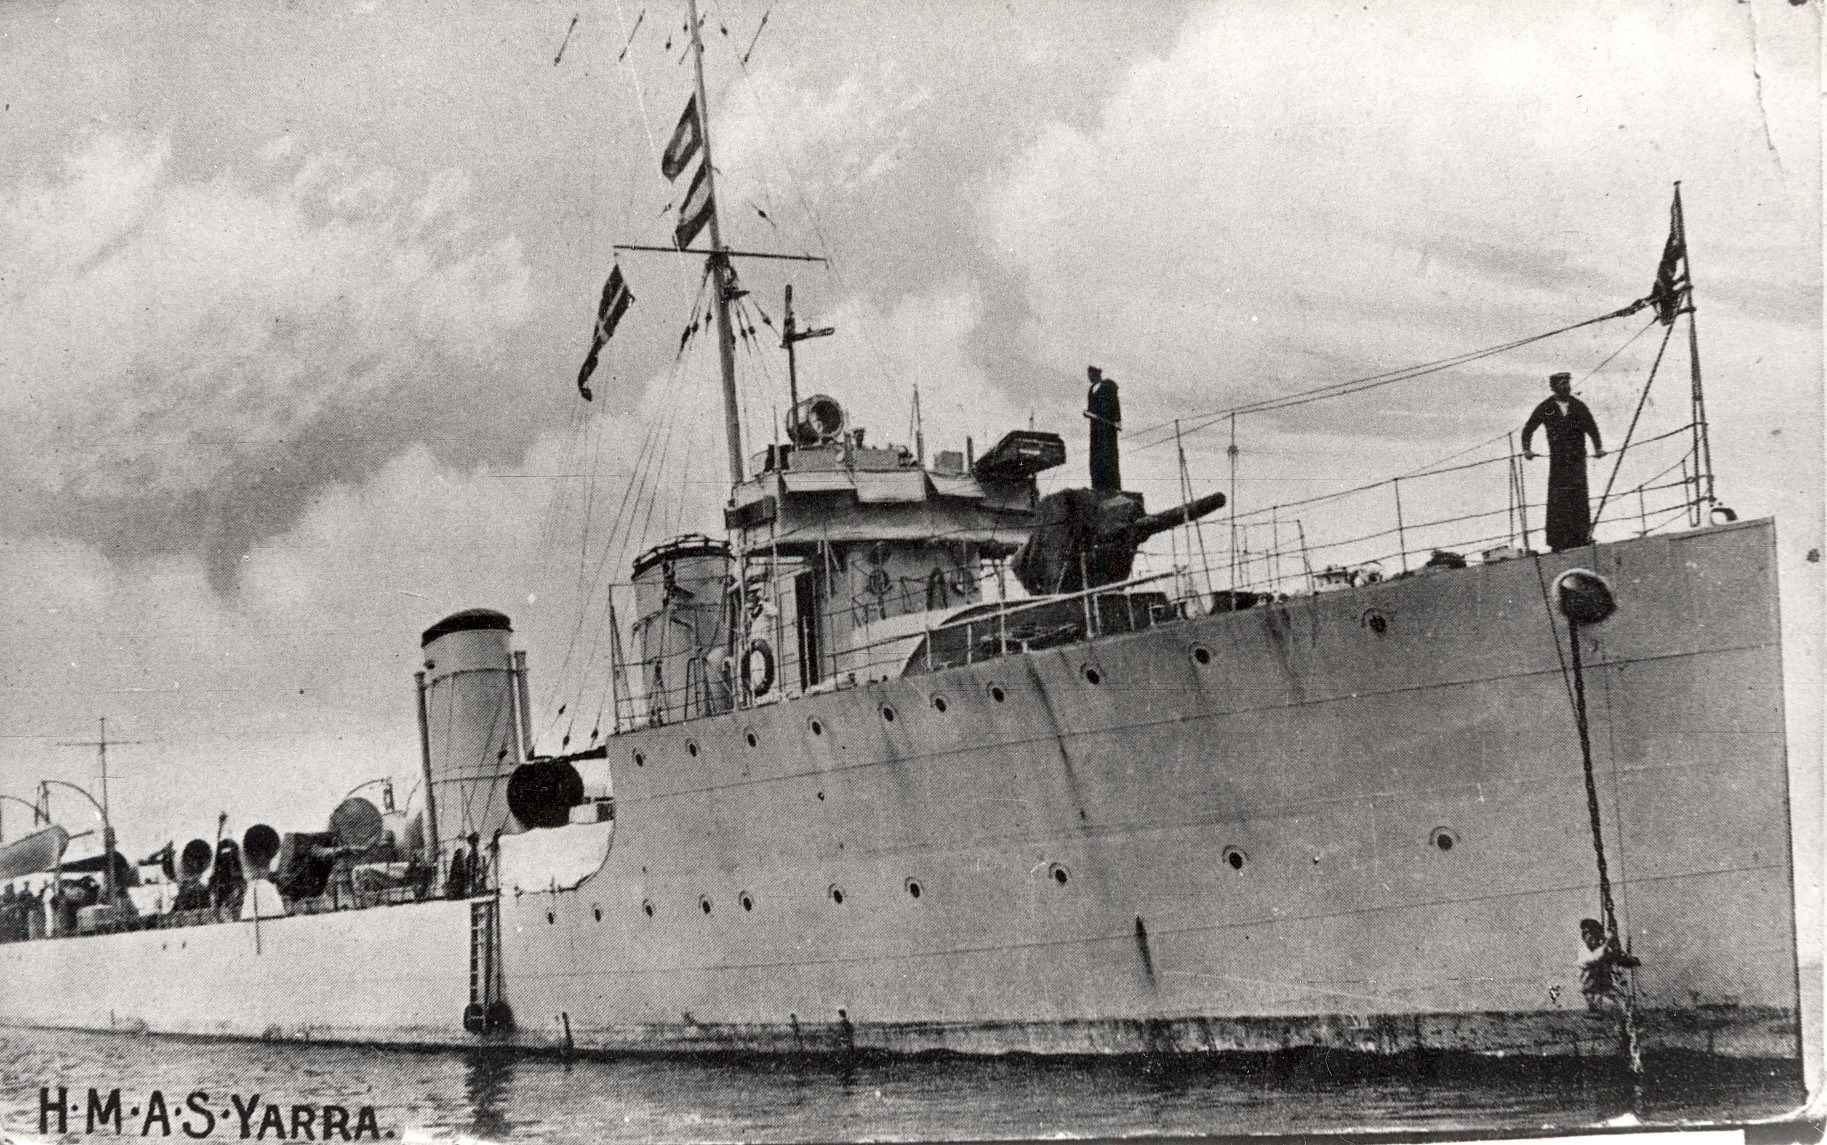
HMAS Yarra (I)
HMAS
Yarra
(I)
 |
| Class |
River Class |
|---|---|
| Type |
Torpedo Boat Destroyer |
| Pennant |
D79 |
| Builder |
Denny Brothers, Dumbarton, Scotland |
| Launched |
9 April 1910 |
| Launched by |
Mrs Moore, wife of the Premier of Western Australia |
| Commissioned |
10 September 1910 |
| Decommissioned |
30 September 1929 |
| Dimensions & Displacement | |
| Displacement | 700 tons |
| Length | 245 feet |
| Beam | 23 feet 3 inches |
| Draught | 8 feet 6 inches |
| Performance | |
| Speed | 26 knots |
| Propulsion | |
| Machinery | Parsons turbines |
| Horsepower | 12,000 |
| Armament | |
| Guns |
|
| Torpedoes | 3 x 18-inch torpedo tubes |
| Awards | |
| Battle Honours | |
HMAS Yarra (I) was one of six River Class Torpedo Boat Destroyers built for the Royal Australian Navy during the period 1909-16. During World War I they formed the Australian Destroyer Flotilla. Sister ships were HMA Ships Huon (I), Parramatta (I), Swan (I), Torrens (I) and Warrego (I).
She was commissioned as HMS Yarra at Greenock on 10 September 1910 under the command of Lieutenant TW Biddlecombe CNF and departed Portsmouth on 19 September 1910 as a Royal Navy ship for the voyage to Australia, and proceeding via Suez in company with her sister ship Parramatta (I) and escorted by HMS Gibraltar, arrived at Broome, Western Australia, on 15 November, where the two destroyers passed to the control of the Australian Government.
Hoisting the flags presented by Mayoress and Ladies of Richmond, Victoria, to the Commonwealth Destroyer Yarra.
In the period of 1911-14 Yarra (I) served in Australian waters, forming with her sister ships Parramatta (I) and Warrego (I) the destroyer component of the Australian Fleet.
During the opening phases of World War I, Yarra (I) operated with the fleet (Vince Admiral Sir George E Patey) in the search for and as a counter to Admiral von Spee's Pacific Squadron. Late in 1914 she took part in the capture of German possessions in the South West Pacific.
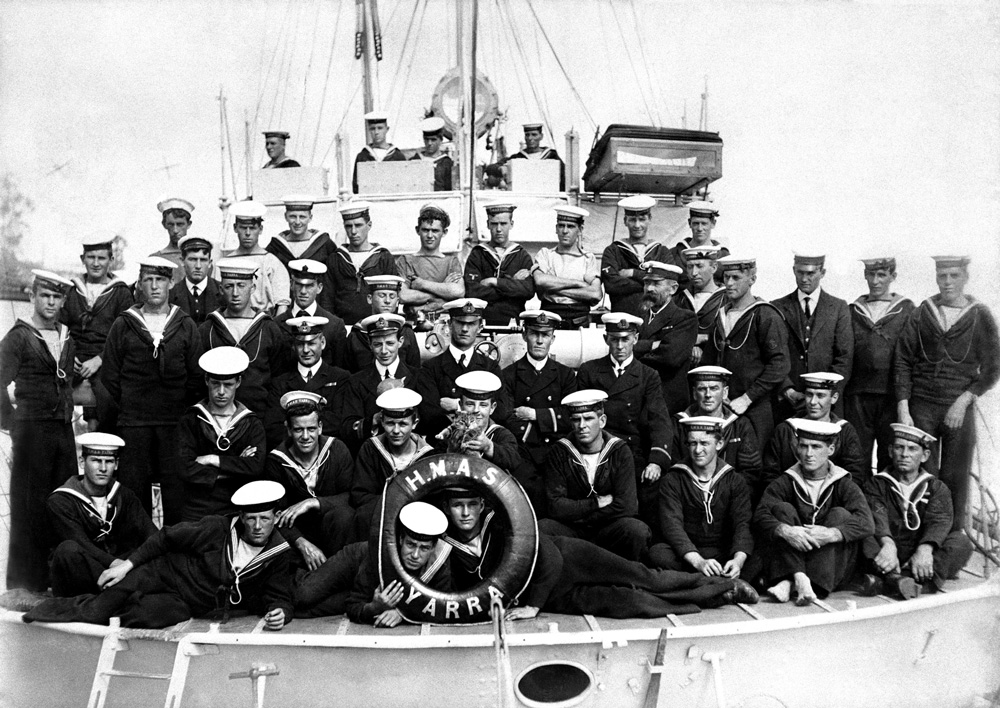
HMAS Yarra's commissioning crew.
Some of her complement, along with sailors from Parramatta (I), were landed at Kabakaul (New Britain) to take part in operations ashore against the German forces. Yarra (I) was present at the formal surrender of German New Guinea to the Australian forces at Rabaul on 13 September 1914.
Yarra (I) remained in New Guinea waters after the departure of the fleet (HMA Ships Australia (I), Melbourne (I) and Sydney (I)) on 17 September 1914, and in company of Parramatta (I) and Warrego (I) assisted in the consolidation of the Australian occupation of New Guinea and New Britain.
In December all three ships proceeded up the Sepik River, and in January 1915 visited Morobe, Finsch Harbour and other points on the coast, cruising also to neighbouring island groups including the Admiralties. On 5 February 1915 the three destroyers finally left Rabaul to return to Australia.
For several months after the return from New Guinea, the Australian Destroyer Flotilla (Commander C Cumberlege RN (in Warrego (I))) remained in Australian waters. On 27 April 1915 the flotilla left Williamstown on a three month familiarisation cruise of the eastern Australian coast line which included visits to Jervis Bay, Sydney, the Barrier Reef and Queensland ports. On 23 August 1915 the destroyers returned to Sydney for refit.
On 19 October 1915 the flotilla left Sydney to serve on blockade duty in Malayan, East Indian, Indo-China, Borneo and Philippine waters. Based on Singapore and Sandakan (Borneo) Yarra (I) served on the Far East Patrol until 8 May 1916 when she departed Sandakan to return to Australia.
At the close of June 1916 Yarra (I) was assigned to Australian coastal patrol duty. Parramatta (I), having returned from the Far East Patrol in mid July, joined HMAS Yarra (I) at Melbourne on 31 August 1916 on completion of her refit at Sydney. Warrego (I) returned to Australia at the end of September 1916 and after long refit began coastal patrol duty in late January 1917.
In May 1917, following a request made by the Admiralty, the Australian Government agreed to the transfer of the Australian Destroyer Flotilla to the Mediterranean. Consequently Yarra (I), Parramatta (I) and Warrego (I) were withdrawn from coastal patrol to refit at Sydney. Their Australian built sister ships Huon (I), Torrens (I) and Swan (I), then serving on the Far East Patrol, were ordered to refit at Singapore.
The Australian based destroyers left Sydney on 9 June 1917 and proceeded to the Cocos Islands where they were joined by the 2nd Division from Singapore on 7 July and Commander WHF Warren RAN (in Parramatta (I)) took command of the flotilla.
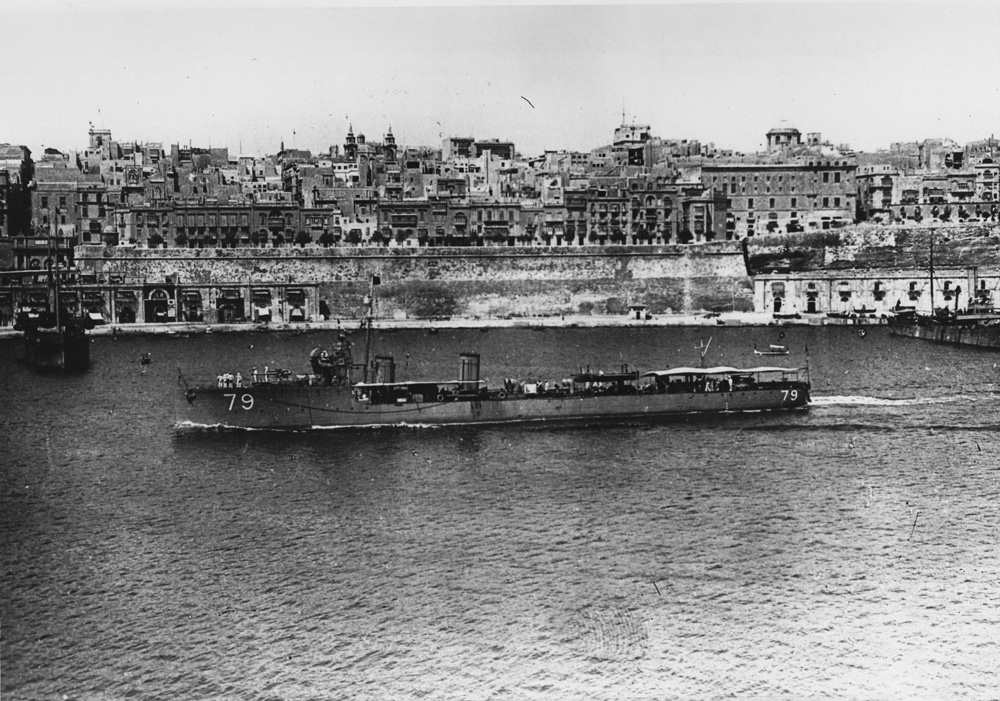
HMAS Yarra in Grand Harbour, Malta.
Following a period of training based on Malta, the Australian flotilla was sent to Brindisi on the heel of Italy for anti-submarine patrol duty. On this work it was the destroyers' responsibility, in cooperation with British and French destroyers, to prevent the passage of enemy submarines through the Adriatic Narrows into the Mediterranean and to give safe transit to the passage of Italian transports to and from Albania.
The Australian destroyers commenced Adriatic Patrol duty in mid-October 1917. During the early period of their tour of duty the enemy, whose submarines were based on Pola at the head of the Adriatic, was fairly active and detection and the subsequent hunt was a common occurrence. Later, however, the enemy effort diminished and eventually the patrol became routine uneventful steaming. Huon (I), Parramatta (I) and Yarra (I) were fitted with captive observer balloons whose object was to detect the lurking submarine while another destroyer stood by ready to act as 'killer'.
In April 1918 the Australian destroyers became part of the British 5th Destroyer Flotilla (Captain GK Chetwode CB RN). As a result Commander AGH Bond RN, who had succeeded Commander Warren (he had drowned in Brindisi Harbour) commanded the flotilla for personnel, pay, medical treatment and 'good organisation and conduct of the vessels' only.

HMAS Yarra alongside with HMAS Parramatta.
Adriatic operations ended for Yarra (I) on 17 October 1918 (a year almost to the day after her first patrol) when with Torrens (I) and the British destroyers of the 5th Flotilla she left Brindisi for Mudros and thence with the Allied Fleet passed through the Dardanelles into the Sea of Marmora to Ismid. From Ismid, Yarra (I) was sent to the Black Sea where she visited, in December 1918, Batum, Novorossiisk and Sebastapol. On 28 December 1918 she departed Ismid in company of Huon (I), Swan (I) and Parramatta (I), to proceed to Malta and thence to Plymouth where she arrived on 8 January 1919.
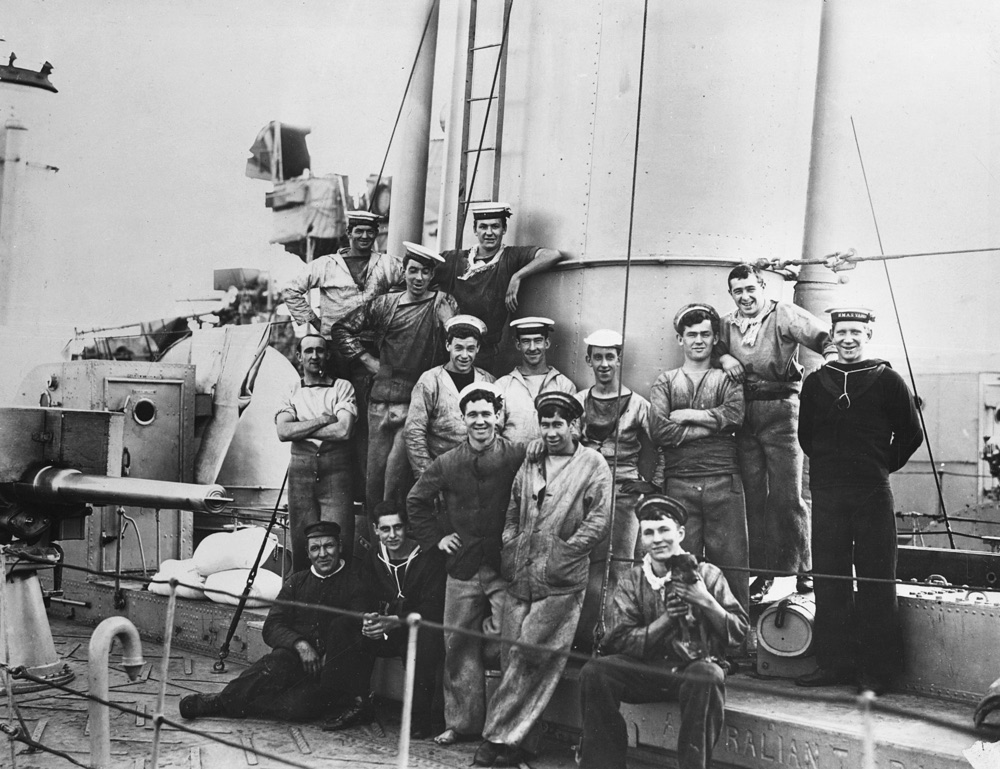
HMAS Yarra sailors during a candid moment with ships mascot
On 6 March 1919, in company of HMA Ships Melbourne (I), Huon (I), Parramatta (I) and Warrego (I), she sailed for Australia, joined by Swan (I) and Torrens (I) at Malta. The flotilla reached Aden on 25 March, Colombo on 2 April, Singapore on 15 April and Darwin on 26 April. On the last day of the voyage Parramatta (I) and Yarra (I) ran out of fuel and had to be towed into Darwin by Warrego (I).
The remainder of Yarra (I)'s seagoing service was spent in Australian waters where she was used as a training ship. On 30 September 1929 she was transferred to the control of Cockatoo Island Dockyard where she was stripped of all useful fittings. Her hulk was scuttled off Sydney Heads on Thursday 11 June 1931.
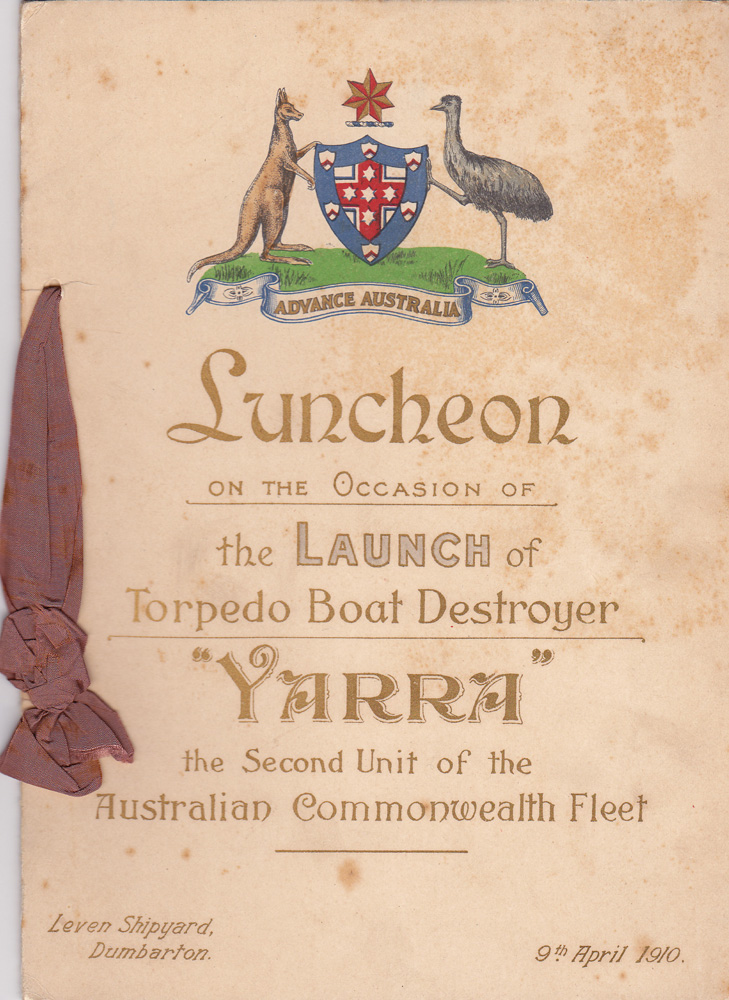
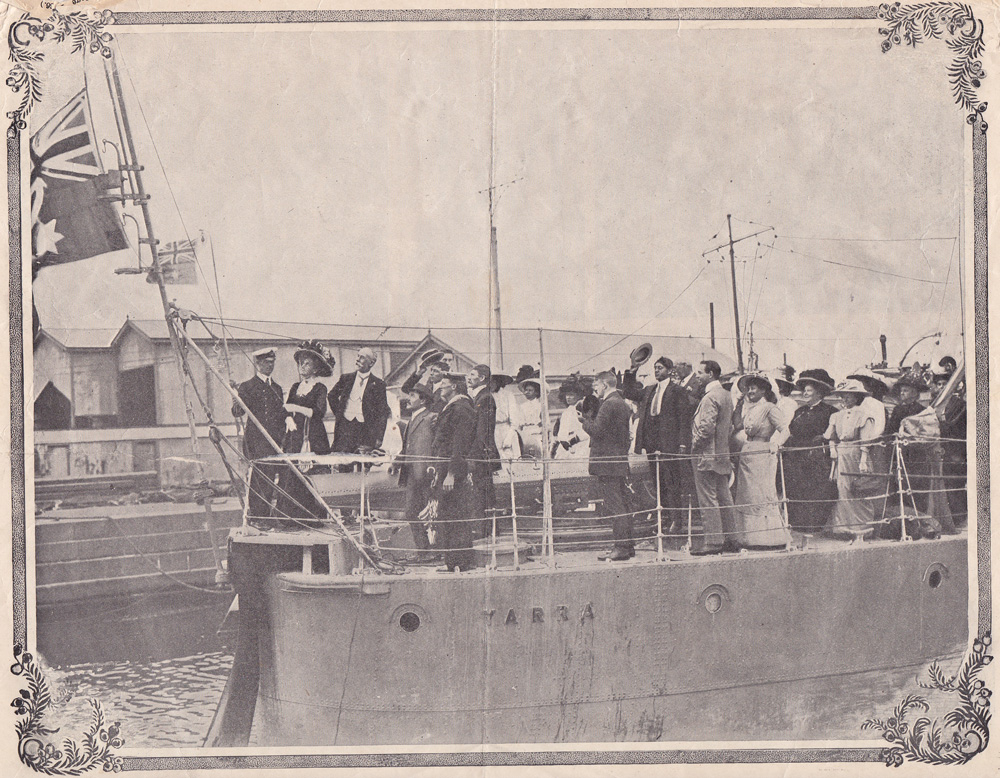
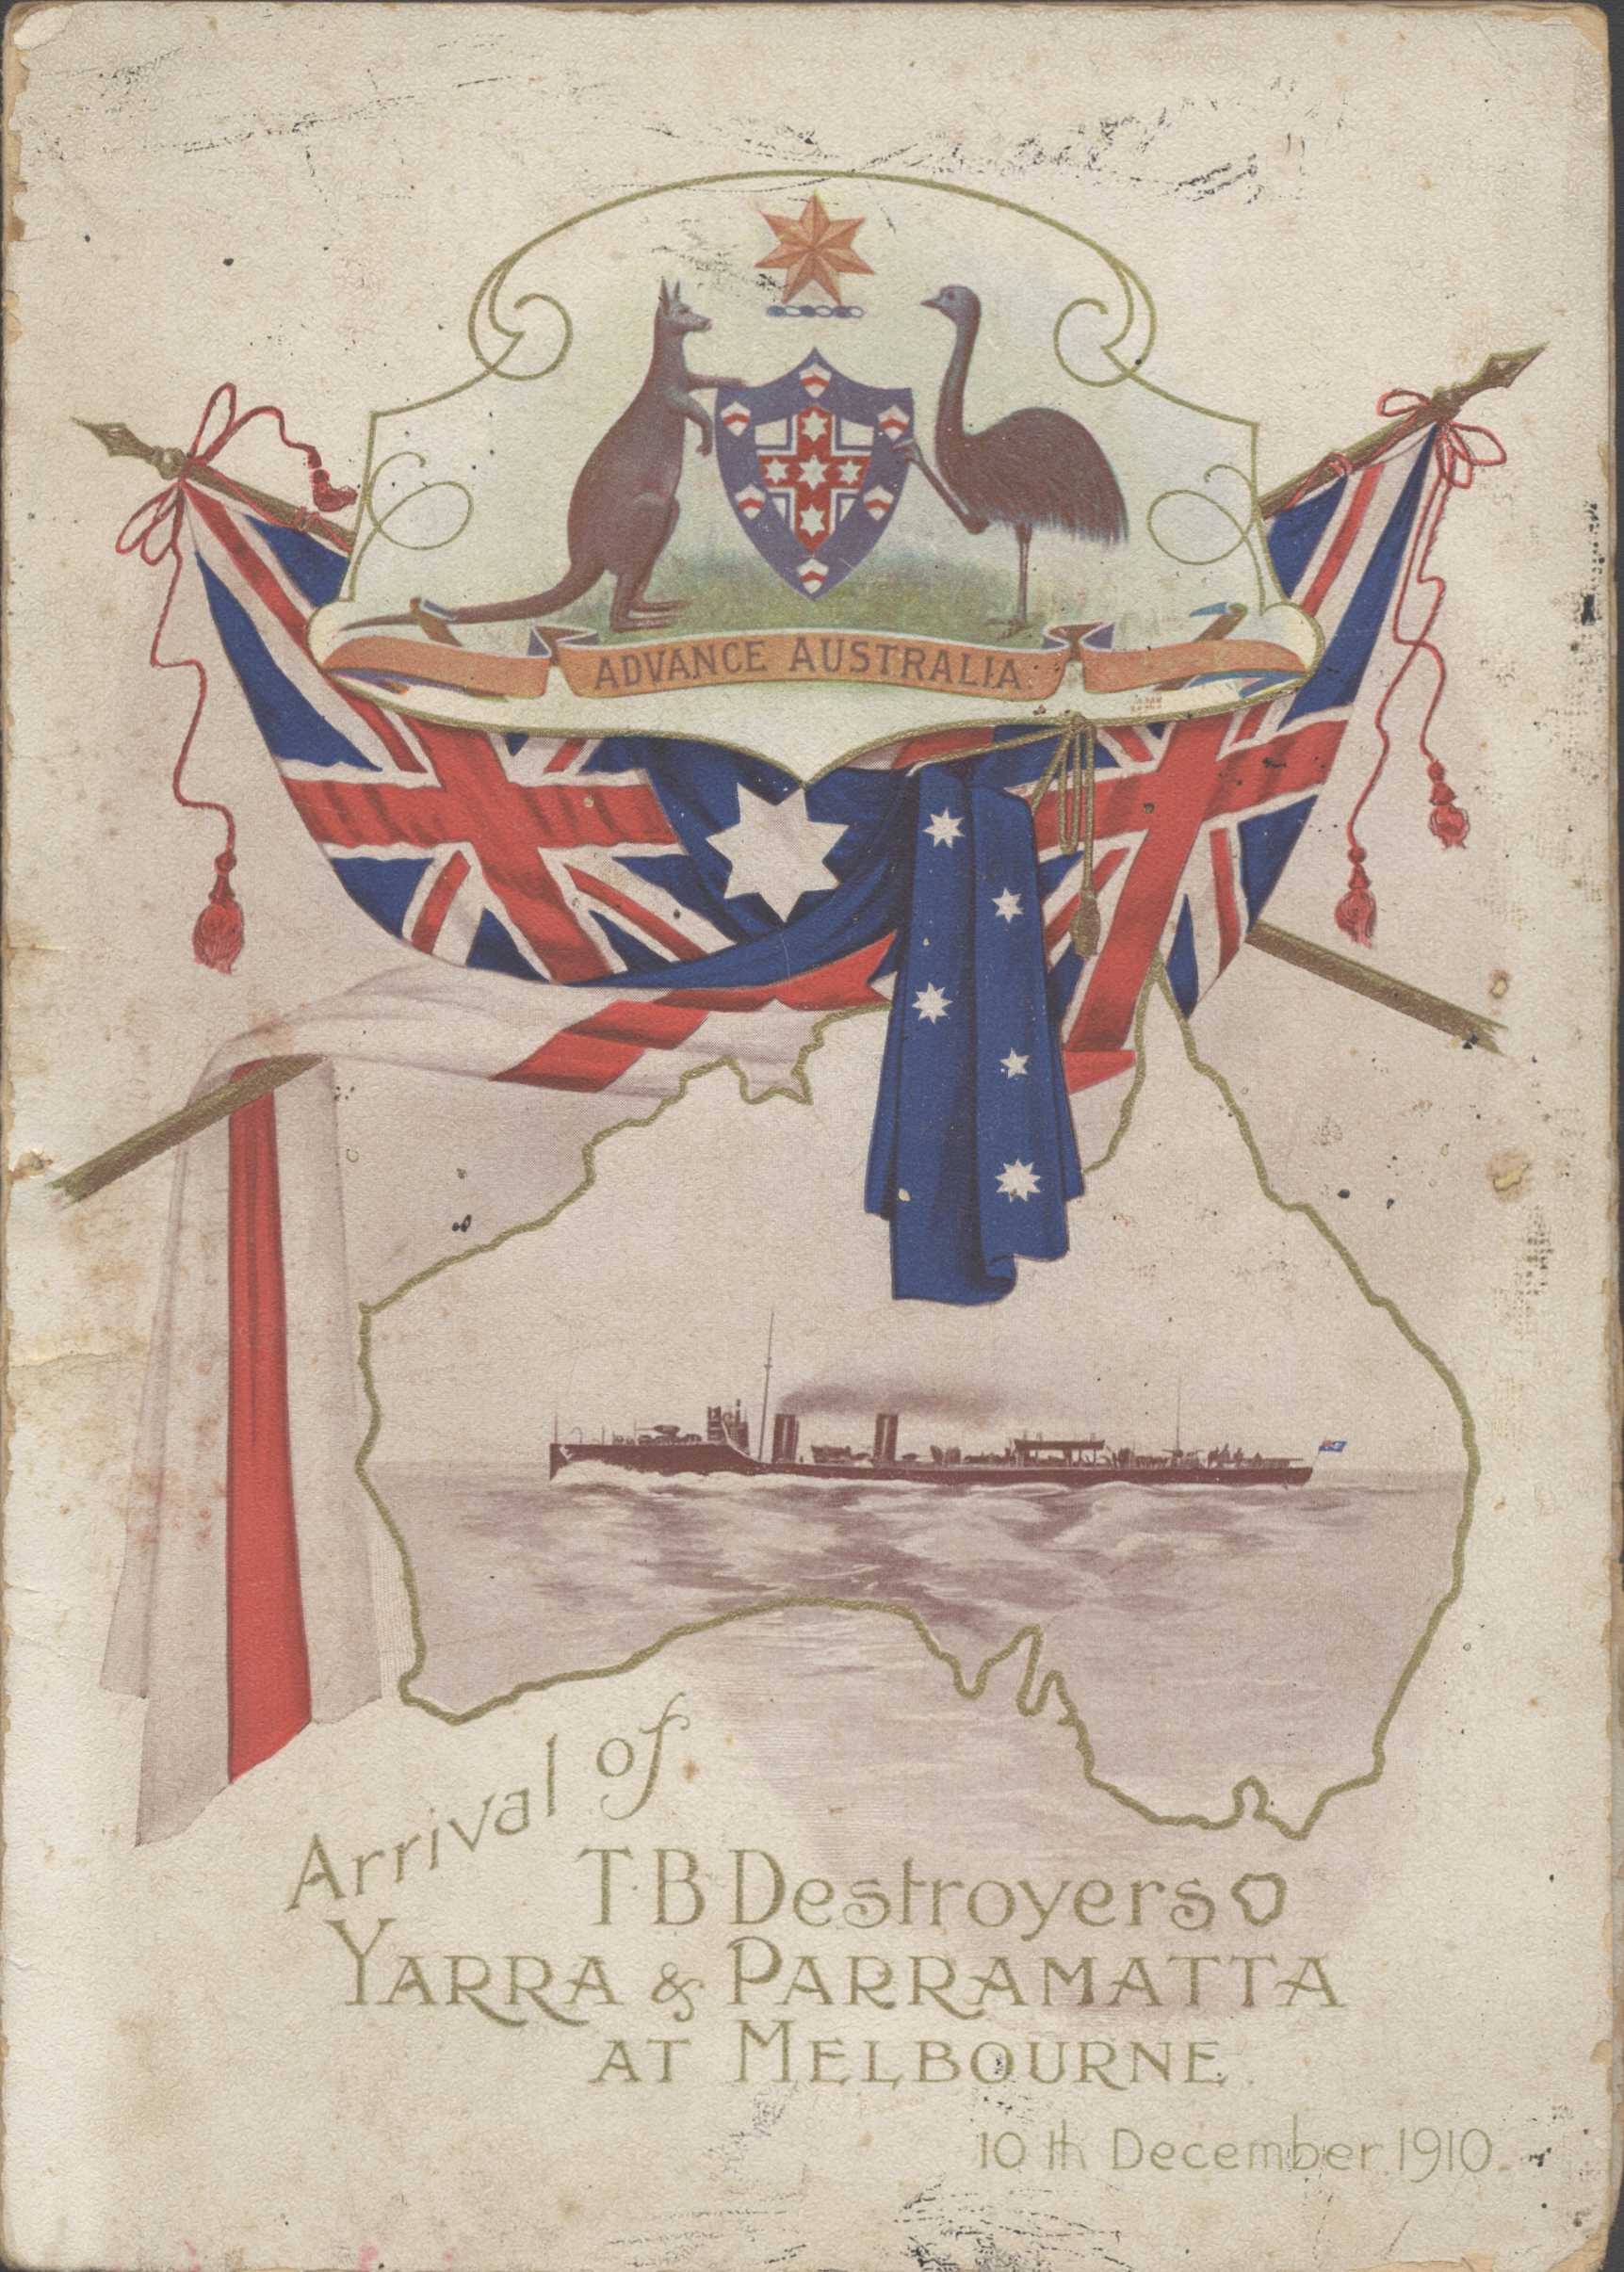
Booklet from the launch of Torpedo Boat Destroyer HMAS Yarra.
Arrival of the Royal Australian Fleet Programme.